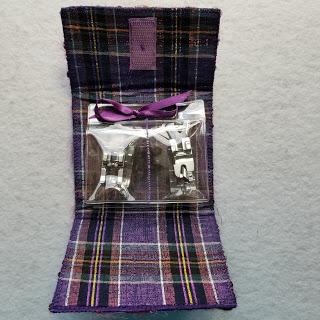
Kraft-Tex Ironing Travel Mate
December 2020 Project of the month


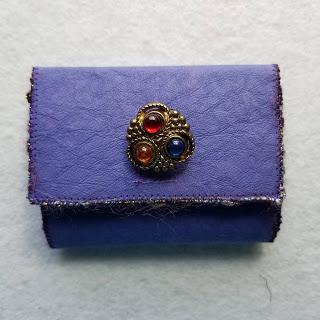
It goes without saying that 2020 has been one “hot mess” so with that in mind I created my final 2020 Kraft-Tex project to tame the wrinkles that we have all experienced this year. Ladies and gentlemen I give you my Kraft-Tex project of the month featuring Turquoise Kraft-Tex, I’m calling it my “Kraft-Tex Ironing Travel Mate”.
I don’t know about you but I’m itching to get back on the road and do some traveling and take and teach a few fiber art classes along the way but space and weight are always a packing consideration. This small, quick and easy project is a terrific solution that perfectly meets my needs.
You will need:
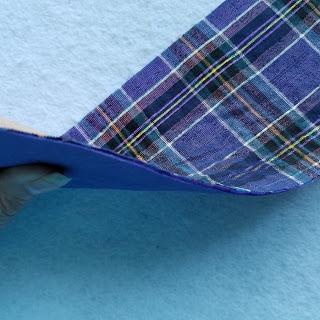
1 - 18 ½” x 12” piece of Turquoise Kraft-Tex
1 - “ “ “ “ “ Cotton Batting (or Insul-Bright)
1 - “ “ “ “ “ Silver Ironing Board Fabric
¼ Yard coordinating fabric for binding and ties
Thread to match your project binding
Plastic clips to secure the binding for sewing
Note: I also find a stiletto or awl helpful when stitching the binding on.
Construction:
Form a sandwich with Kraft-Tex (RSO) on the bottom, batting in the middle and silver ironing board fabric on the top (RSO).
Clip in several places to hold the sandwich together.
Create binding and tie with your coordinating fabric by cutting 3 strips, 1 ½” x width of fabric (normally 42/44”) on the straight of grain . (Note: It is not necessary to cut on the bias because you will not be sewing any curves.)


Binding and tie:


Create a double fold strip out of your fabric with either a bias binding tool OR: fold fabric in half wrong sides together and iron to find the center. Open the fold and fold in the raw edges to meet the ironed line. iron the folded edges. Do this on all three pieces.
Join two of these pieces together (end to end to form one long piece) and reiron where they are joined.
Set the third piece aside for now.


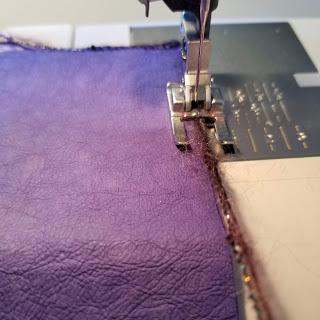
Completely surround and capture the edges of your sandwich in step 1 inside of the binding fold and use clips to secure in place. Be sure that your fabric sandwich edge meets the fold on the inside of the binding.
Stitch the binding in place taking care to catch both sides of it as you stitch. Miter in the corners before stitching over them. As you near the end cut binding slightly longer than the starting point as you will need to overlap the beginning and end of the binding. Finish capturing and overlapping the edge and clip in place. Finish stitching all the way around your piece.

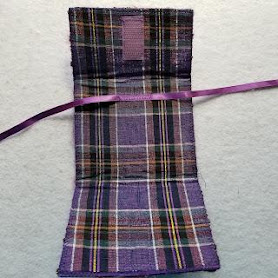
Finish the tie and attach:

Take your last piece of binding and give the fold one more press. Stitch the entire edge closed (the full 44” length). If you want you can turn in the ends to form a finish edge before stitching or just knot them at each end so they don’t ravel.
Fold in half so when you stitch it you will have two straps. Secure the doubled tie in the middle of an end of your pressing mat and stitch the tie in place.


You can simply roll your project and secure closed with the ties
I travel with my small packable Clover Travel Iron and it wraps up perfectly inside the ironing mat.


Ready? Set? Let’s GO!


Kraft-tex is an amazing leather like product that has thousands of uses. Kraft-tex is stitchable, paintable, stampable, embossable and washable to name a few. It’s been my privilege to be affiliated with C & T Publishing ( www.ctpub.com ) and part of their creative team.